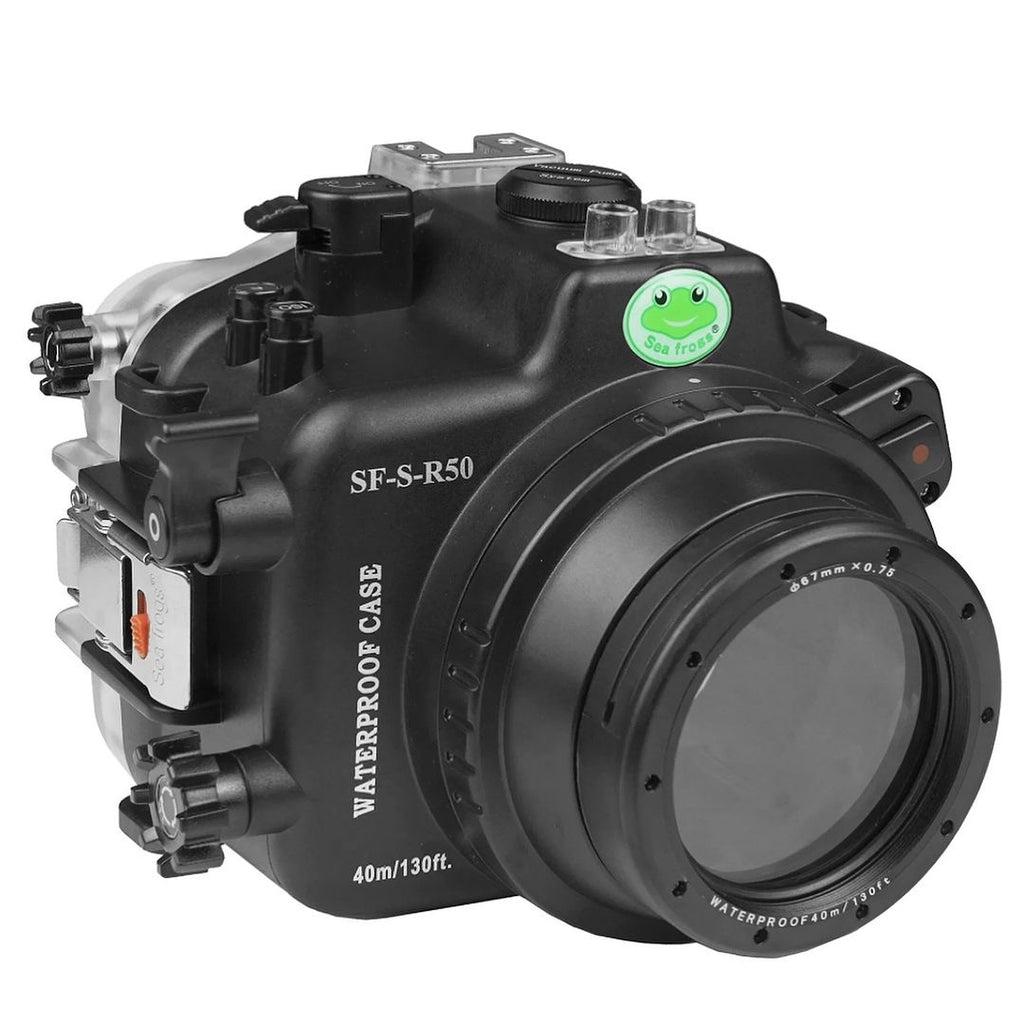
At the end of August, I saw a blog post on the SeaFrogs website saying that they had released a housing for the EOS R50, so I got carried away and bought it.
- Added 2024/11/07
The Seafrogs website has added that it is not possible to trigger an external strobe.
At the time of purchase (early September), it said “Dual fiber optical port,” but that seems to have been deleted.
It is now possible to trigger an external strobe, although this will void the warranty of the R50.
See here for more information.
SeaFrogs only seemed to sell the housing alone, or ones with an RF-S 18-45mm port, or one with a dome port, so I searched on AliExpress and found one with a flat port for the EF-S60, so I bought that. I was told that a vacuum adapter would also be good, so I bought that as well.
It was shipped at the end of August and arrived in early September, so it took about a week to arrive.
Unboxing
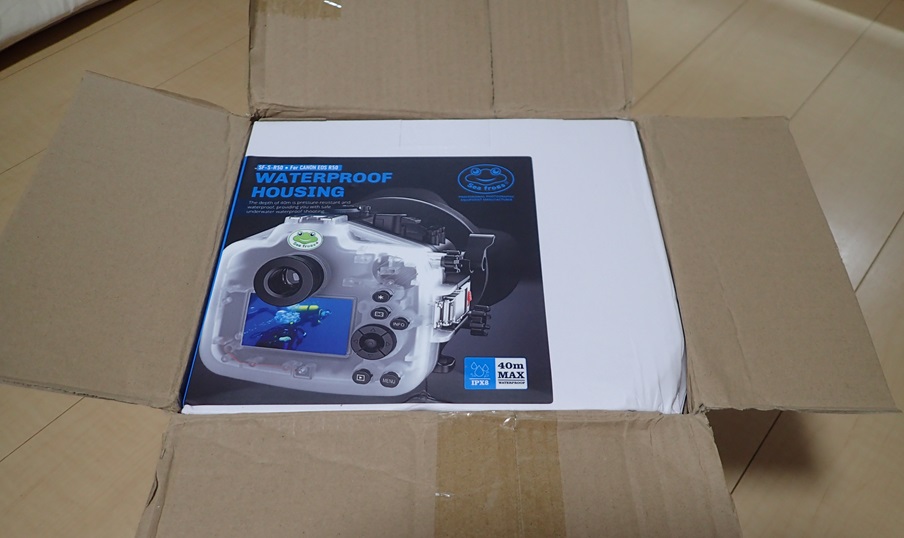
It just fits snugly inside the shipping box.
There’s a slight dent in the bottom right corner, but it should be fine as long as it doesn’t cause any problems with the device itself.
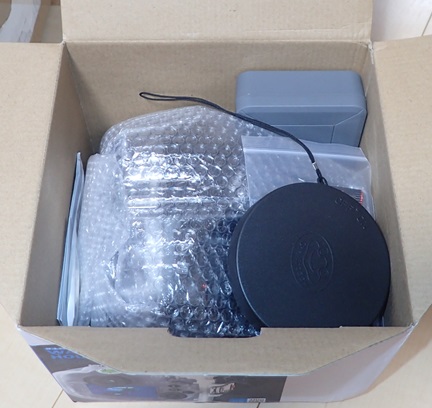
The vacuum system is located in the upper right corner of the box.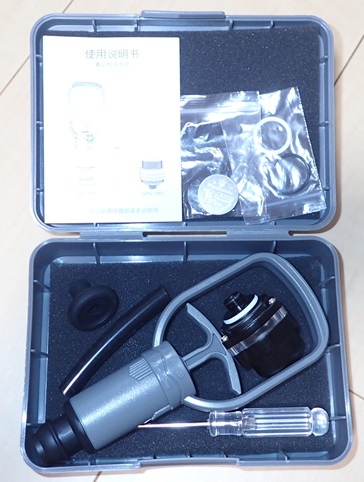
It contained a sensor adapter, pump, etc.
Other items included are an instruction manual, a desiccant, a spare O-ring, an O-ring remover, a strap, a housing lid, and the main unit.
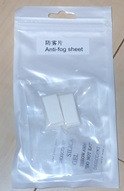
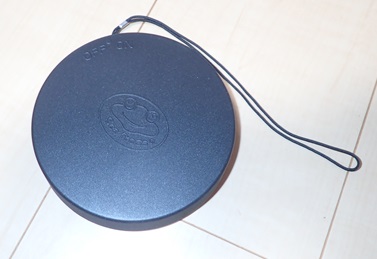
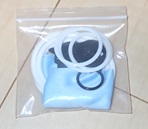
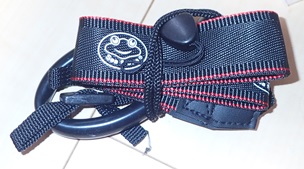
Check the housing.
Basic images can be found in the product description on Aliexpress, so here I will only include images that caught my eye.
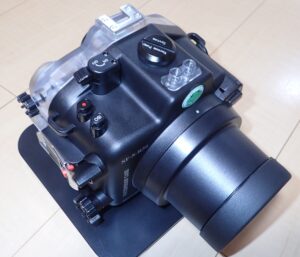
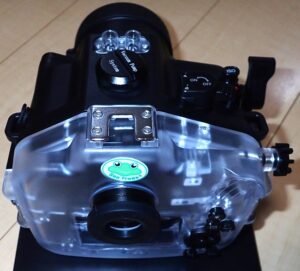
There are buttons and knobs that have one-to-one correspondence with the buttons on the EOS R50.
I played around with all the buttons and thought they were well made for the price.
What I thought were problematic were the up, down, left, right keys and the power knob.
I’ll talk about the power knob later, but the up, down, left, right keys feel a bit wobbly and difficult to press.
From here on, I’ll explain some of the points that are a little hard to understand from the product description images on the Seafrogs site and AliExpress.
First, let’s talk about the port exchange system.
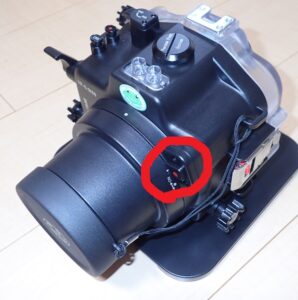
There is a button in the red area of the image above. Press it and twist until the white mark on the port and the white mark on the housing overlap to remove the port.
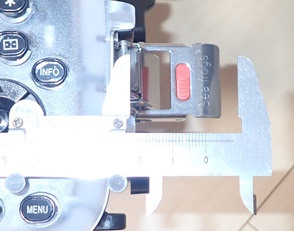
The latch on the back cover opened.
It expands by about 33mm, so it may be a bit of a pain to position it so that it doesn’t interfere with the arm. The handle part of the arm needs to be placed far enough away or it may interfere.
An image of the latch closed.
The red mark is to prevent accidental opening, and you can open the latch by sliding this up.
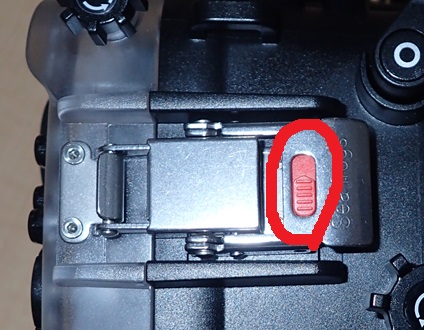
This prevents the latch from being opened accidentally.
However, it can be a hassle as the right and left sides have different orientations.
With my housing, the right side slides up and the left side slides down, so it’s confusing.
I don’t think you’ll understand what this means until you actually try to open it.
The lid is open.
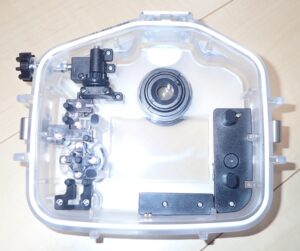
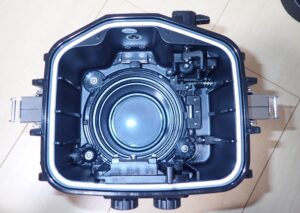
The leak sensor is on the right side of the back cover.
Most other models have a sheet-like leak sensor, but the R50’s only has two electrodes protruding from it.
Power ON/OFF knob.
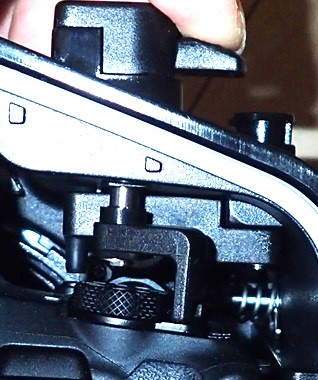
To turn the EOS R50 on, you first have to push down the top knob and then twist it forward.
If it doesn’t mesh properly, you won’t be able to turn the power on/off, so be careful.
These are the only things I thought were a bit problematic about the product.
The built-in flash cannot be used.
The next image was taken with the built-in flash popped up, but it only popped up halfway, so the EOS R50 thought the flash wasn’t popped up and couldn’t fire the flash when the shutter was released.
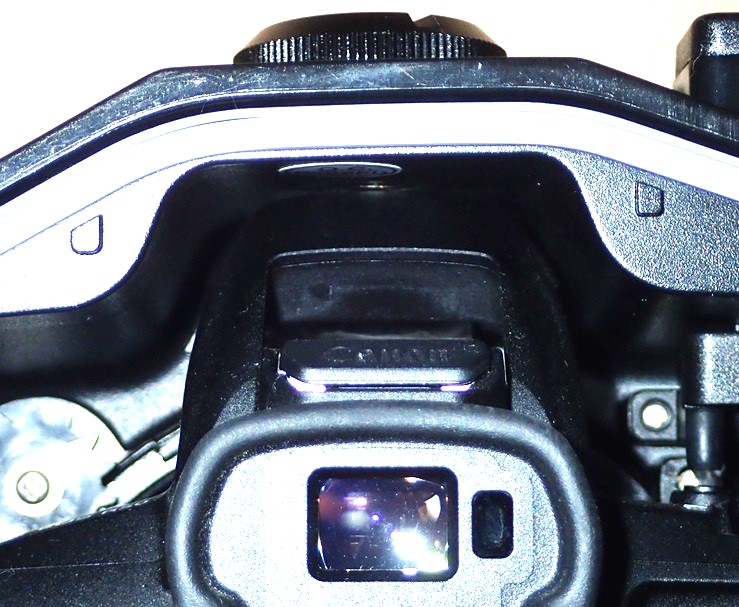
I contacted support about this, and they advised me to use the SR-009, sold separately.
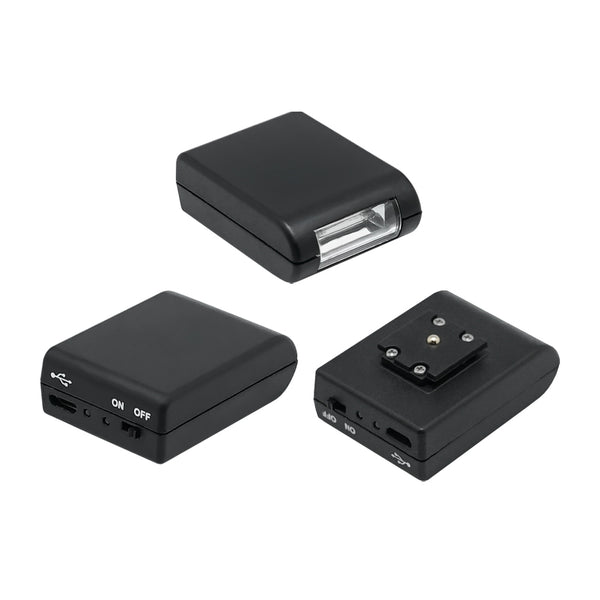
The EOS R50’s hot shoe has had the X-contact removed and is now only for use with the multi-accessory shoe. As a result, I understand that devices with X-contact connections cannot be used.
However, support said that it is possible to connect the SR-009 directly.
I wonder when the multi-accessory shoe was analyzed.
I will check this later, as I will be purchasing an additional SR-009.
I wanted to use TTL, but I guess I’ll give up.
The viewfinder is hard to see
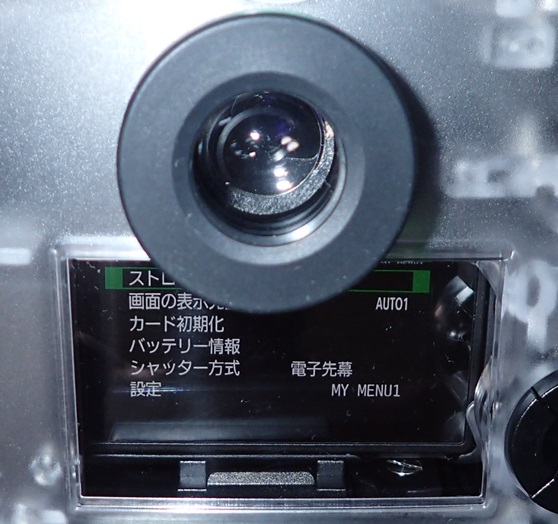
I wasn’t able to take a good photo of the image displayed in the viewfinder, so I’ll just write about it, but first of all, there seems to be quite a bit of distortion.
For everyday use, I slide the diopter adjustment bar on the EOS R50 all the way to the right, but when installing it in a housing, I need to slide it all the way to the left for it to look blurry.
Also, the magnification is around 0.6x, so the corners are cropped.
Maybe I’ll just use it as an emergency evacuation in a bright place.
Switching between viewfinder and monitor
The EOS R50’s viewfinder is equipped with a sensor that displays an image when there is something near the viewfinder.
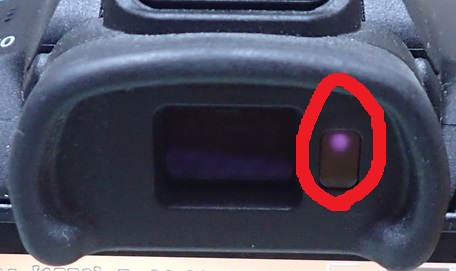
I think the red part at the top is probably an infrared proximity sensor.
Because of this, the viewfinder display is turned on by default when the camera is placed in the housing.
This means that you need to switch between the viewfinder and monitor, and by assigning this to a button you can switch between them at will underwater.
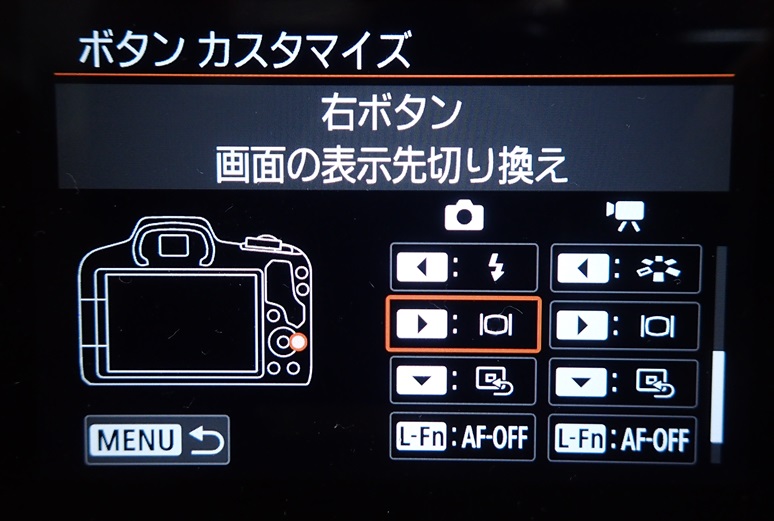
The setting is to switch screen displays. I assigned this to the right button.
Even if the screen display setting in the menu is set to fixed mode, you can still switch with the button.
First of all, problems occur here.
These are my first impressions after opening it up.
And then a problem occurred.
I did a leak check using a vacuum adapter and it was determined that there was an air leak. Even though I had performed the initial setup correctly.
I also left it underwater for about an hour, but there were no leaks from that side.
If there is an air leak when created in a vacuum, it means that there is a possibility that a water leak will occur due to a significant pressure difference, so I am currently inquiring about this with support.
I have also ordered a flash trigger, so it may take some time before I can actually submerge it in the sea.
コメント